How to Clean Ash Out of Solo Stove (Ash Be Gone)
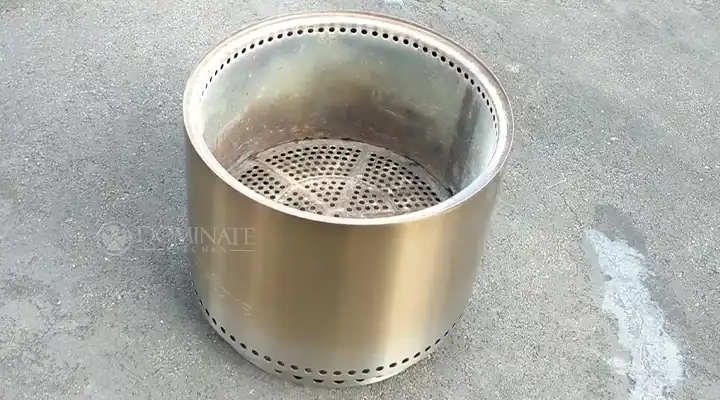
Solo Stoves have revolutionized the fire pit experience, providing a smokeless, efficient, and aesthetically pleasing way to enjoy outdoor fires. However, like any outdoor appliance, Solo Stoves require regular maintenance to ensure optimal performance and longevity. One of the most crucial aspects of Solo Stove maintenance is ash removal.
Ash buildup can not only affect the performance of your Solo Stove but can also lead to safety concerns. Below, I will explain in detail how you can clean the ash out of your solo stove with a soft brittle brush and a piece of cloth. Happy reading!

Preparing for Ash Removal
Before you begin the ash removal process, it is essential to ensure that your Solo Stove is completely cool to the touch. Allow the Solo Stove to cool for at least two hours after the last embers have been extinguished. This will prevent any risk of burns or injuries during the cleaning process.
Removing Loose Ash
Once the Solo Stove has cooled completely, turn it upside down and gently tap it on a stable surface. This will dislodge any loose ash that has accumulated inside the fire pit. If you have a Solo Stove Stand, you can use the handles to lift the fire pit and tap it on the ground.
Thorough Ash Removal with a Soft-Bristled Brush
While tapping the Solo Stove will remove most of the loose ash, there may still be some residue clinging to the interior surfaces. To thoroughly clean the Solo Stove, use a soft-bristled brush to sweep away any remaining ash. The soft bristles will ensure that the finish of the Solo Stove is not damaged during the cleaning process.
Cleaning with a Damp Cloth
After removing the ash with a brush, wipe down the Solo Stove with a damp cloth to remove any remaining soot or debris. This will not only keep your Solo Stove looking its best but will also prevent the buildup of soot, which can affect the efficiency of the fire pit.
Rinsing and Air Drying
Once the Solo Stove has been wiped down with a damp cloth, rinse it thoroughly with clean water. This will remove any remaining traces of ash, soot, or cleaning residue. Allow the Solo Stove to air dry completely before storing it away.
Additional Tips for Ash Removal and Solo Stove Maintenance
Here are some additional tips for keeping your Solo Stove clean and well-maintained:
Regular Ash Removal: It is recommended to remove ash from your Solo Stove after each use. This will prevent the buildup of ash, which can affect the performance of the fire pit and make it more difficult to clean.
Vacuuming Stubborn Ash: If the ash is stubborn and difficult to remove with a brush, you can use a vacuum cleaner with a soft brush attachment. This will effectively remove even the most stubborn ash deposits.
Mild Detergent for Deep Cleaning: For deep cleaning, you can use a mild detergent to clean the Solo Stove. However, be sure to rinse it thoroughly with water afterward to remove any traces of detergent residue.
Avoid Abrasive Cleaners and Scouring Pads: Never use abrasive cleaners or scouring pads on the Solo Stove, as these can damage the finish.
Regular Maintenance for Optimal Performance: Regular maintenance, including ash removal and cleaning, will extend the life of your Solo Stove and keep it looking its best.
End Notes
By following these simple steps and tips, you can easily remove ash from your Solo Stove and maintain its optimal performance for years to come. Enjoy the warmth and ambiance of your Solo Stove, knowing that it is clean, well-maintained, and ready for your next outdoor gathering.


